Getting Windows to Recognize Your Garmin Device
You will need:
- Garmin GPS device
- Windows computer system
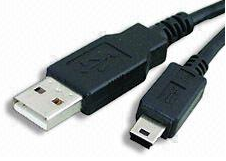
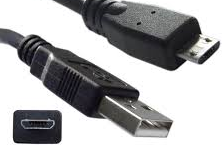
- USB cable to connect the two (one or the other of the two type below, depending upon your Garmin)
Steps:
- Power up your Windows computer and wait until it has boot up completely.
- Plug in the Map SD card into the Garmin if it is not already there.
- Power on your Garmin and wait until it is boot.
- If the Garmin does not power on, then it may need charging. Plug in USB cable to the Garmin and to the computer and leave it for a few hours.
- Plug in the Garmin into the appropriate USB cable and plug the cable into a working free USB port on your computer.
- Wait for Windows to recognize the Garmin. It is vitally important that Windows recognize your Garmin first, otherwise the updater program will not.
The Garmin will appear in the Windows Explorer in either of two ways.
- Windows Explorer is accessible by holding down the Windows key (the one with the window on it between the ALT and CTRL) and touch the 'e' key.
- 1) Appear as one or two drive letters.
- 2) Appear as the Garmin device name but no drive letter (under a heading of Portable Devices).
- Windows may pop up an autorun window. You can close down that window. If Windows displays an autorun window and the updater software is running, the updater may examine your Garmin automatically.
- If the Garmin does not appear at all then:
- Check the Garmin USB cable connection and then try unplugging the cable from the computer and try a different USB port on the computer.
- If still the Garmin does not appear in Windows and/or the software updater refuses to recognize the Garmin, then you may have to use an SD card reader.
An SD card reader dongle can be purchased at just about any electronics store for about $30.00ish should your computer not have one mounted in the case.